
Hello again! I’ve caught the mini bug, mini quilts that is. They are such a fun way to explore different techniques in a small amount of space. I signed up for #veryminiquiltswap on Instagram and am hashing out some design ideas. This one didn’t quite turn out as I had envisioned, but I wanted to finish it up anyway.
I like to do a single fold binding and include tiny hanging triangles on the back of the mini. Here is a bit of my finishing process.
- I started out with my quilted mini. The top measures 5″x5″.
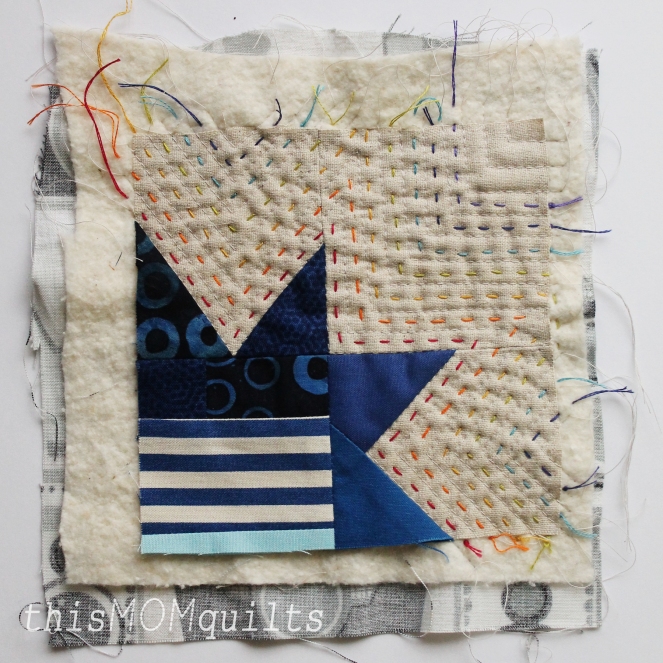
2) Next I stitched around the outside of the top (1/8″ away from edge) to secure my big stitch hand-quilting. I didn’t bother tying off my ends, hopefully the stitching will keep them in place. Squaring up the top is really simple, just trim away excess batting and backing.


3) Take two squares of fabric, fold each into a triangle and press. Baste these onto the back of your mini. This will create a little pocket at each corner for a little dowel to slide into in order to hang your mini on the wall.
4) Cut binding strip(s) 1 and 1/8″ (one and one eighth inch, an inch and an eighth?) wide. Sew onto front of mini using 1/4″ seam allowance.
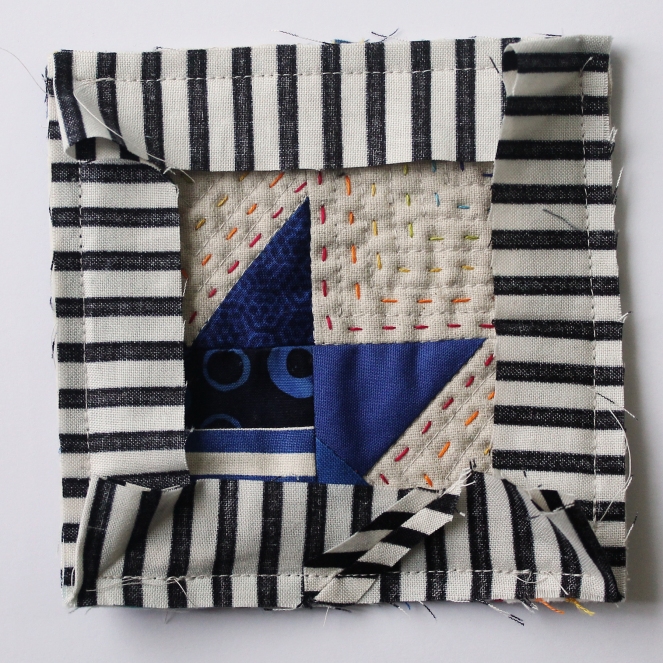
5) Fold binding over to backside, fold raw edge under and hand stitch binding to back of mini. Finesse the corners so they look good on the back too.

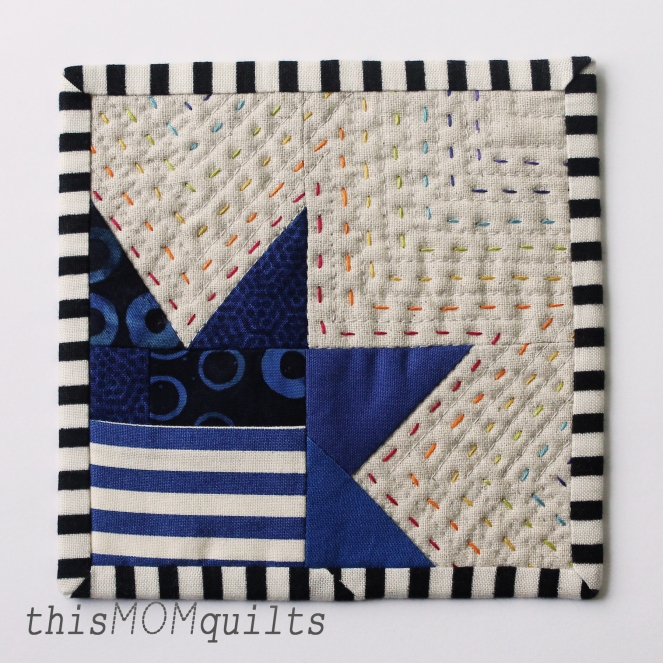
6) Enjoy your finished mini!
Weekly sewing round-up:
- still working on Snowball Nine Patch quilt. I am working on writing the pattern at the same time and have decided to call it ‘Open”. I also started cutting the baby size to test.
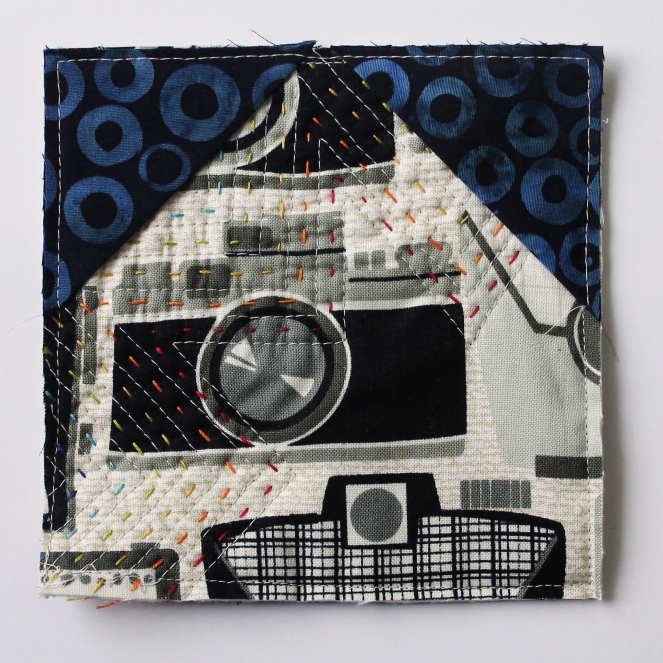
- finished up my Ohs Zippered Case for #zcs2016.
Cheers,
Amanda

This is excellent Amanda! I especially love your big stitch quilting. You’re so creative!
LikeLike
Thank you Sylvia. I think I will incorporate some in my swap minis.
LikeLike
Love this Mini. Your corners are perfect.
LikeLike
Thanks Ioleen!
LikeLike